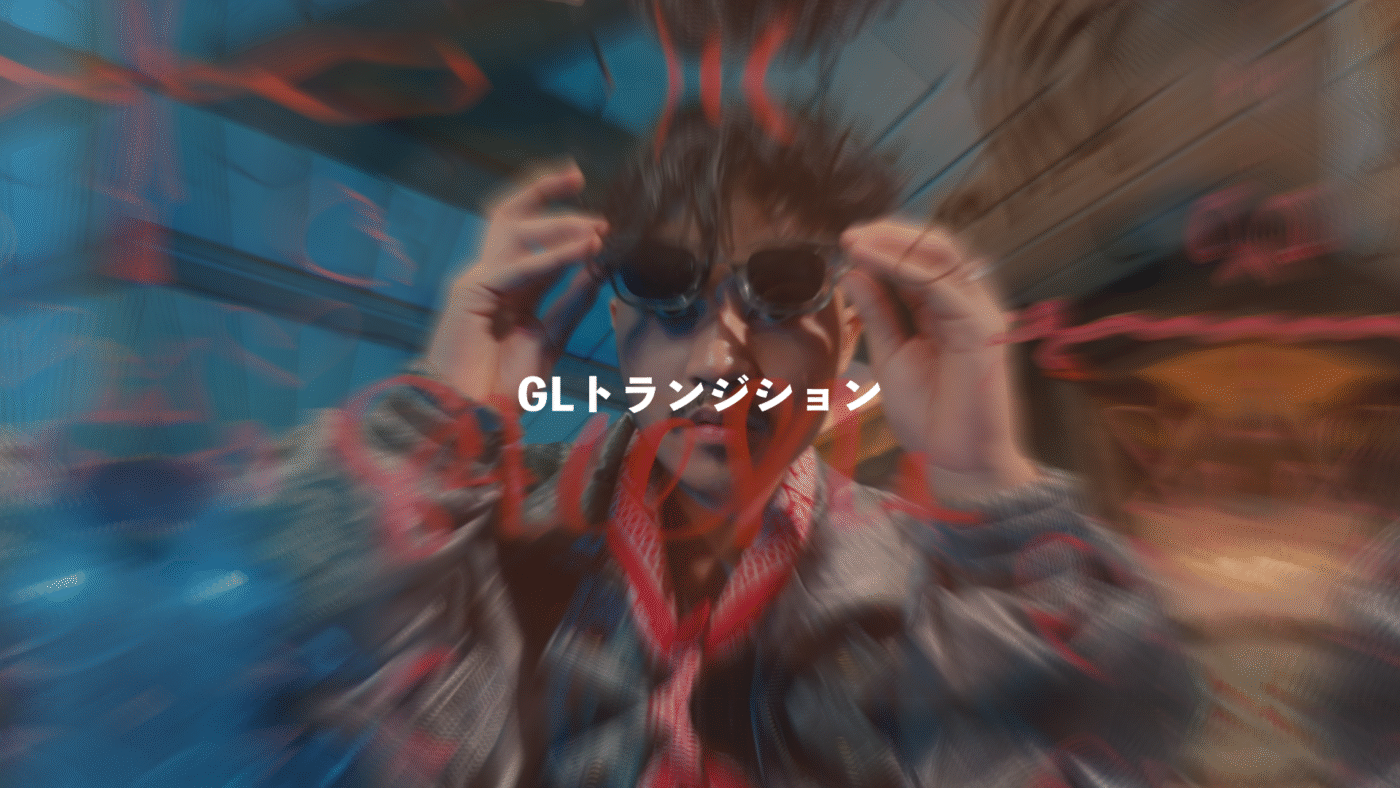
GLトランジションで動画編集効率化
前回、最新版のChatGPT GPT‑5でGLトランジションのコード生成がスムーズに行えるようになったというお話をご紹介しましたが、その方法でズームトランジションを作って見ました。ぜひご活用ください。
GLトランジションとは?
以前に概要を説明した記事がありますので下記をご覧ください。
GLトランジションでAfter Effectsのエクスプレッションのような本格的なアニメーションが作れる!
「ズームトランジション」のコード
このコードをコピーして、VEGAS ProのGLトランジションのデフォルトに貼り付け。
// Author: TORAERA
// License: MIT
// Animation: Synchronized Zoom with Motion Blur

vec4 transition(vec2 uv) {
    float t = progress;
    vec2 center = vec2(0.5, 0.5);

    // 滑らかなイージング(easeInOut)
    float easeT = t * t * (3.0 - 2.0 * t);

    // 全体を通して同期したスケールアニメーション(両方とも8倍の変化率)
    // A画像用:1.0 → 8.0
    float scaleA = 1.0 + 7.0 * easeT;

    // B画像用:0.375 → 3.0(中心画像が8倍の変化率で100%表示)
    float scaleB = 0.375 + 2.625 * easeT;

    // モーションブラー強度(ズーム速度に基づく)
    float zoomSpeed = 1.0 - abs(t - 0.5) * 2.0;
    float blurAmount = 0.06 * zoomSpeed * pow(scaleA / 4.0, 0.5);

    // 中心からの距離でブラー強度を調整
    float distFromCenter = length(uv - center);
    float distanceBlur = blurAmount * smoothstep(0.0, 0.6, distFromCenter);

    // 簡易モーションブラー(8サンプル固定)
    vec4 colorA = vec4(0.0);
    vec4 colorB = vec4(0.0);
    float totalWeight = 0.0;

    // 方向ベクトル
    vec2 direction = normalize(uv - center);

    // 8サンプルの放射状ブラー
    for(int i = 0; i < 8; i++) {
        float percent = float(i) / 7.0;
        float weight = 1.0 - percent * 0.7; // 線形減衰

        vec2 offset = direction * distanceBlur * percent;
        vec2 sampleUV = uv - offset;

        // A画像サンプリング
        vec2 uvA = (sampleUV - center) / scaleA + center;
        if (uvA.x >= 0.0 && uvA.x <= 1.0 && uvA.y >= 0.0 && uvA.y <= 1.0) {
            colorA += getFromColor(uvA) * weight;
        } else {
            colorA += vec4(0.0, 0.0, 0.0, 1.0) * weight;
        }

        // B画像サンプリング(3x3ミラータイル)
        vec2 uvB_base = (sampleUV - center) / scaleB + center;
        vec2 uvB_tiled = (uvB_base - 0.5) * 3.0;
        vec2 tilePos = floor(uvB_tiled + 0.5);
        vec2 uvB_fract = fract(uvB_tiled + 0.5);

        if (tilePos.x != 0.0) {
            uvB_fract.x = 1.0 - uvB_fract.x;
        }
        if (tilePos.y != 0.0) {
            uvB_fract.y = 1.0 - uvB_fract.y;
        }

        colorB += getToColor(uvB_fract) * weight;
        totalWeight += weight;
    }

    // 正規化
    colorA /= totalWeight;
    colorB /= totalWeight;

    // フェードインタイミング(progress 0.4~0.8)
    float fadeProgress = 0.0;
    if (t > 0.4) {
        if (t < 0.8) {
            fadeProgress = (t - 0.4) / 0.4;
            fadeProgress = fadeProgress * fadeProgress * (3.0 - 2.0 * fadeProgress);
        } else {
            fadeProgress = 1.0;
        }
    }

    return mix(colorA, colorB, fadeProgress);
}
今後の展開
今回のような動画編集を効率化できる実用的なプリセットの開発を行いながら、GLトランジションのポテンシャルを深堀りしていきます。ある程度情報がまとまったらそちらもご紹介します。
VEGAS Proとは
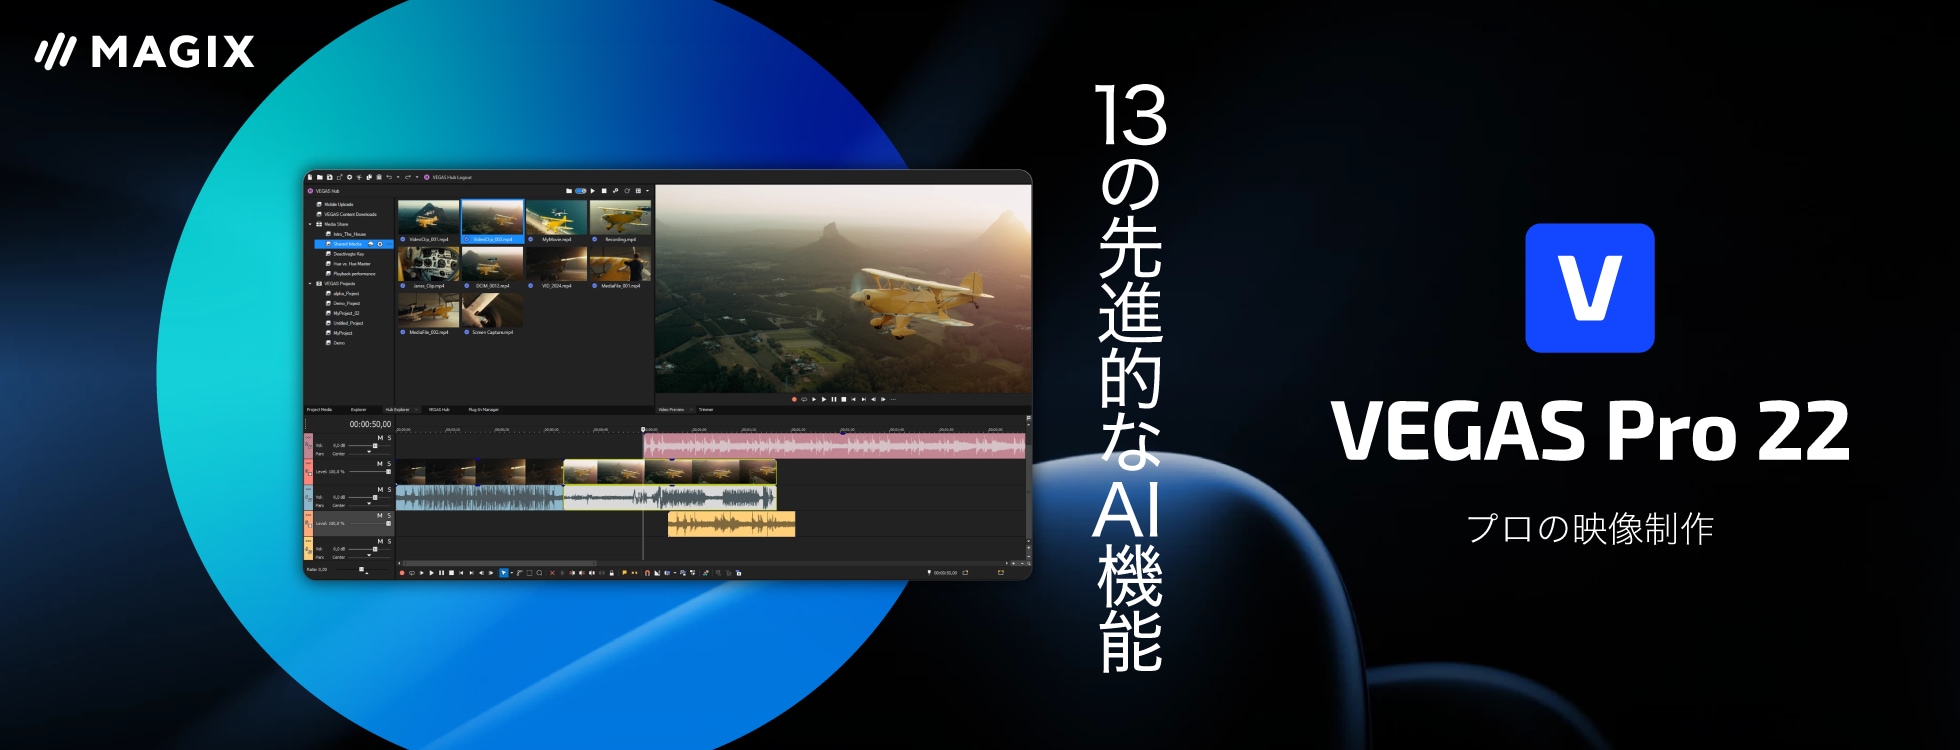
VEGAS ProはWindows PC向けの動画編集ソフトです。直感的な操作性と見やすいタイムラインが特長で、アニメーション機能と音編集機能も強力な統合型のツールです。YouTubeコンテンツ制作からビジネス用プレゼンテーション、広告動画まで、あらゆる用途に対応する柔軟性を備えています。最新版はWindows 10とWindows 11で使用することができます。
近年、多くの編集ソフトが月額課金制に移行する中、VEGAS Proは従来の買い切り版の提供を継続。ユーザーのニーズに寄り添った選択肢を提供し続けています。最新のAI技術を導入し、さらに編集作業の効率化が行われています。
VEGAS Pro 日本公式サイト
シンユー合同会社 代表 / モーションデザイナー
企業のマーケティングを支援する動画広告を専門に手掛け、プロモーション動画・店頭販促動画・採用動画の制作を多数担当。モーショングラフィックスを駆使し、視聴者の心をつかむクリエイティブを提供。After EffectsやPremiere Proなどの書籍の出版や、ZEN Study(旧N予備校)で講師も務める。